AT HOME: LYMPHATIC DRAINAGE FACIAL MASSAGE
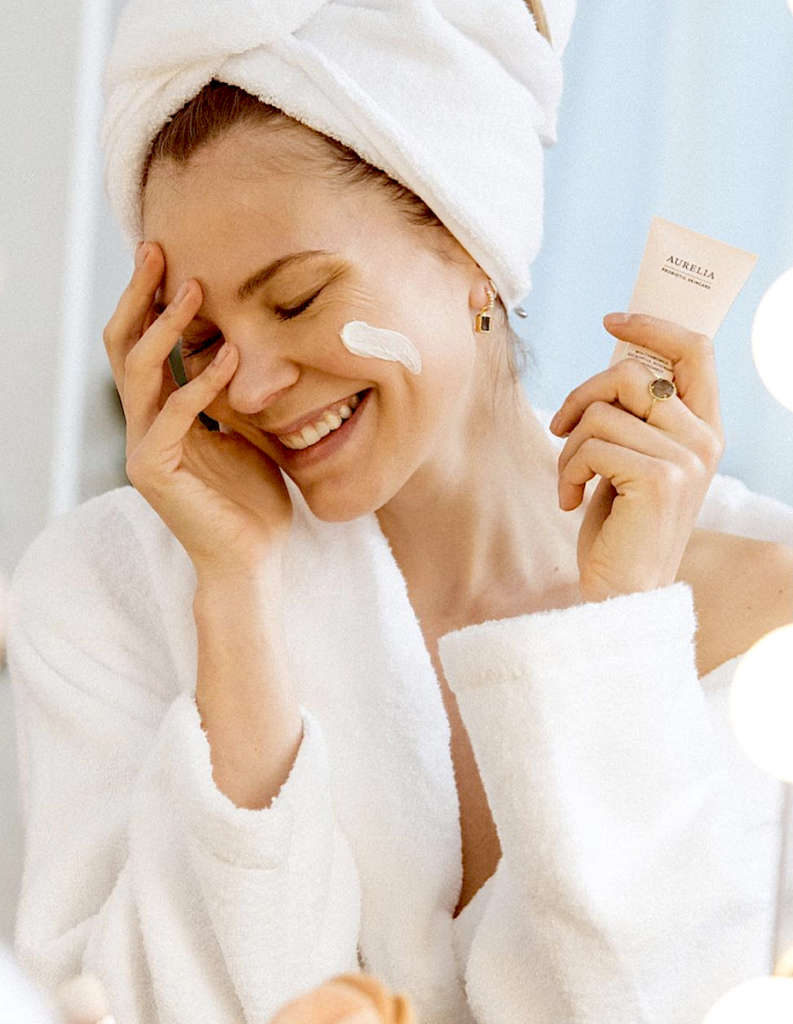
We asked model and Aurelia user, Ksenija Selivanova, to show us her evening lymphatic drainage massage routine on IGTV. Used regularly, this practice can help reduce swelling and contour your face at home!
THE LYMPHATIC SYSTEM
To give some background: The lymphatic system, an integral part of the body’s immune system, is a network of vessels and tissues responsible for helping the body get rid of toxins. Lymphatic fluid is not pumped throughout the body like blood, but rather, is squeezed through vessels when a muscle is activated. This is why activating the face muscles through massage can result in lymphatic drainage.
There are several ways to aid the lymphatic system, including dry brushing, drinking the recommended amount of daily water, and massaging your muscles regularly. And while we love an appointment with a professional massage therapist, you can also see great benefits with this lymphatic drainage facial at home!
This week on Aurelia’s IGTV, model Ksenija Selivanova shows us the facial routine that can help drain lymphatic fluid, promote collagen production and slow signs of ageing.
You can watch her tutorial below or read our step by step guide under the video:
STEP BY STEP: Ksenija’s Lymphatic Drainage Facial Massage
Step 1: Ksenija suggests changing into something that exposes your collarbones. Secure any hair away from the face.
Step 2: Wash your face with Aurelia’s Miracle Cleanser to prep the skin.
Step 3: After washing, spritz clean face with Aurelia’s Brightening Botanical Facial Mist.
Step 4: To prevent the skin from pulling, apply Aurelia’s facial oil. In this evening routine tutorial, Ksenija uses Aurelia’s Cell Repair Night Oil.
Step 5: With your fingers closed together, press fingertips into the hollow parts of your collarbone and hold for a few seconds before releasing. Repeat this three times.
Step 6: Next, place hands (fingers together) across the forehead and sweep them down the face alternating hands. You can stop at the temples to apply additional pressure. Carry this motion down to the clavicle. Repeat several times.
Step 7: Start where your brow and temple meet. Take a few fingers closed together, and in a sweeping motion, apply light pressure from your brow to the hairline, moving across your forehead. Repeat back and forth several times.
Step 8: Starting at the temples, take your ring fingers and sweep light pressure underneath the eyes, holding for several seconds when you reach the start of your brow bones (by the eye’s tear ducts). Apply a little bit of pressure here. Continue sweeping above the brow bones and end back at the temple.
Step 9: Now reverse Step 8. Take your ring fingers starting at the base of your brow bone (by the eye’s tear ducts) and sweep pressure outwards underneath your eyes towards the temples. Pause. Sweep hands down to clavicle. Repeat Step 8. Repeat Step 9.
Step 10: Working on reducing puffiness, take ring fingers on either side of your temples. Draw “Figure 8” motions around the corner of your eyes and temple. Repeat several times.
Step 11: Focusing on the brows, connect you pointer finger and thumbs. Lightly pinch the brows back and forth across the brow bone. Repeat this back and forth across the brow bone several times.
Step 12: Place all fingertips around the chin and jawline base. Sweep fingers up towards the base of your nose, ending with fingers clasped around the nose tip. Apply pressure, then release. Repeat three times.
Step 13: Following the previous motion, start with all fingertips placed on either side of your chin. Take pressure up around the nose, then sweep hands out towards the temples. Now sweep fingers down to the clavicle. Repeat.
Step 14: Place fingertips horizontally on either side of your nose. Sweep pressure out towards your temples and slide hands down to the clavicle. Repeat.
Step 15: Use the heels of your hand to apply pressure on your face just underneath the cheekbone. Ksenija recommends lowering you head and placing your face into the heels of your hand. Remember to use very light pressure. Sweep heels towards the ears and then carry motion downwards. Repeat several times.
Step 16: Similar to Step 15, now place your jawline into the heels of your hand. Apply a light pressure. Sweep your hands towards ears along the jawline. As you complete the motion, lift your head and sweep your hands down the neck. Repeat.
Step 17: Open hands palm-out. Place thumbs under your chin. Put the tips of your fingers together. They should meet across the bridge of your nose, under your cheekbones. Open up your hands and sweep across the cheekbones towards your ears. Carry this motion down to your clavicle and repeat.
Step 18: Repeat Step 6 by starting at the forehead and sweeping palms down your face. Alternate hands with each stroke. Relax all face muscles and conclude the practice.
WHAT TO USE:
In our IGTV video Ksenija showed us how to complete the massage using only your hands. You could also use a jade roller or Gua Sha tool, both of which have been used for centuries for lymphatic drainage.
Before starting the massage, make sure you have significant hydration on your face to prevent the skin from pulling. Consider using our Brightening Botanical Facial Mist and Cell Repair Night Oil to prep the skin.
After you complete the lymphatic drainage massage, finish the practice with our Probiotic Concentrate and Cell Revitalise Night Moisturiser to lock in the benefits.